Please Follow us on social media >>>>
Complete Guide On How To Set Up A Payoneer Account
In this guide on how to open a functioning Payoneer account, l will show you how to set up a Payoneer account to receive payment from Fiverr, and how to set up a Payoneer account for Upwork and Amazon Kindle Publishing.
Table of Contents
ToggleThere are serious reasons why you should have an account with Payoneer if you have not done so.
If you are doing business online, for example
- A website developer
- E-commerce
- Content-based websites
- Service-oriented businesses
- Software or SaaS businesses
- Or if you make any money online
Any of the above requires you to set up a means of receiving payment online with out stress. In this article, I will show you how to do just that.
And I will also show you other things you can do with Payoneer to increase sales.
I set up one immediately after I started Freelancing and it has been a lot of help receiving payments via Payoneer.
If you are a prospective online marketer, a freelancer, an affiliate marketer, a YouTuber or you render any service online, then this Complete guide on how to set up a Payoneer account is for you.
Especially if, you are from one of the so-called third-world countries, you probably have the issue of how to safely receive money from your clients as one of the problems to tackle with.
What is Payoneer
Payoneer is a payment solution platform that helps you send and receive payment especially if your business is online based.
Why do you need A Payoneer Account?
- You can use Payoneer to send and receive money internationally,
- It can be used to effectively run a digital business.
- If you are a Kindle publisher, Payoneer is good for you
- As an affiliate marketer, you need a way to receive your commission
- Payoneer can be used to make local payments or request such payments
- A good alternative to Paypal
Places you can use Payoneer:
- 99Designs
- Freelancer
- Amazon Affiliate Program
- Amazon Kindle Publishing
- PeoplePerHour
- TeeSpring
Of course, there are the likes of Papal, FlutterWave, etc, but Payoneer fills in where those lacks.
If you are a freelance worker, then Payoneer is for you.
Upwork, Fiverr, eBay, Walmart, etc use them.
How to set up Payoneer for your business
Step 1
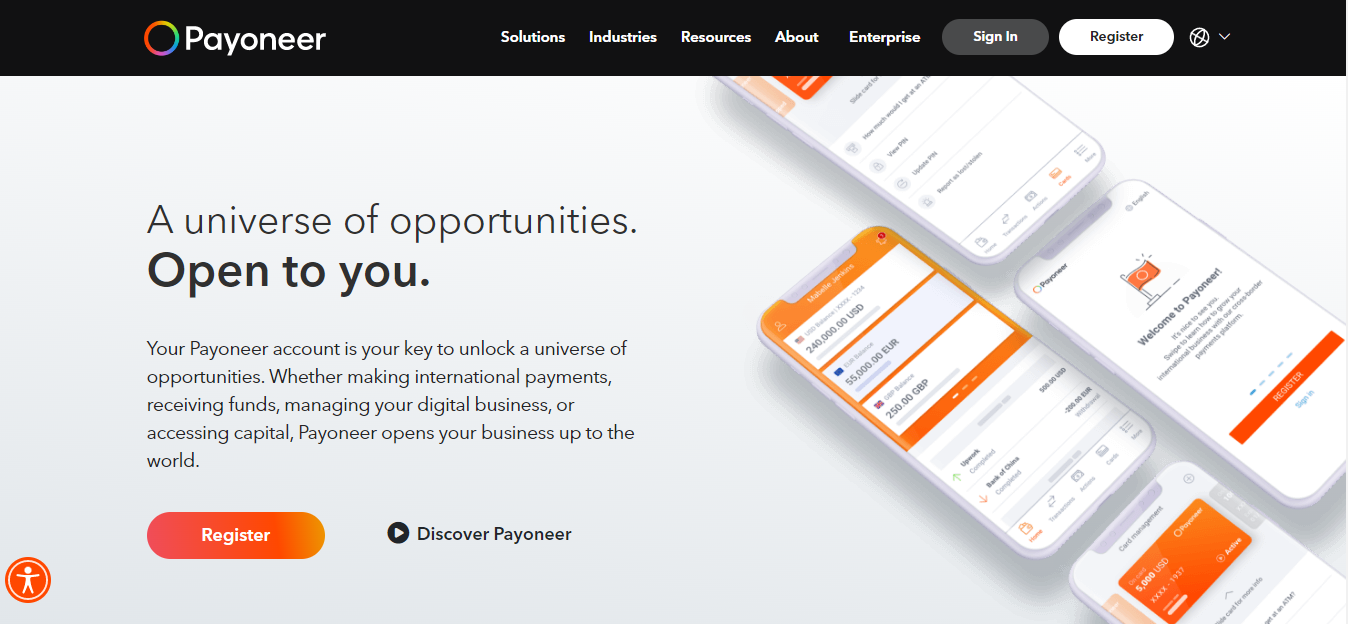
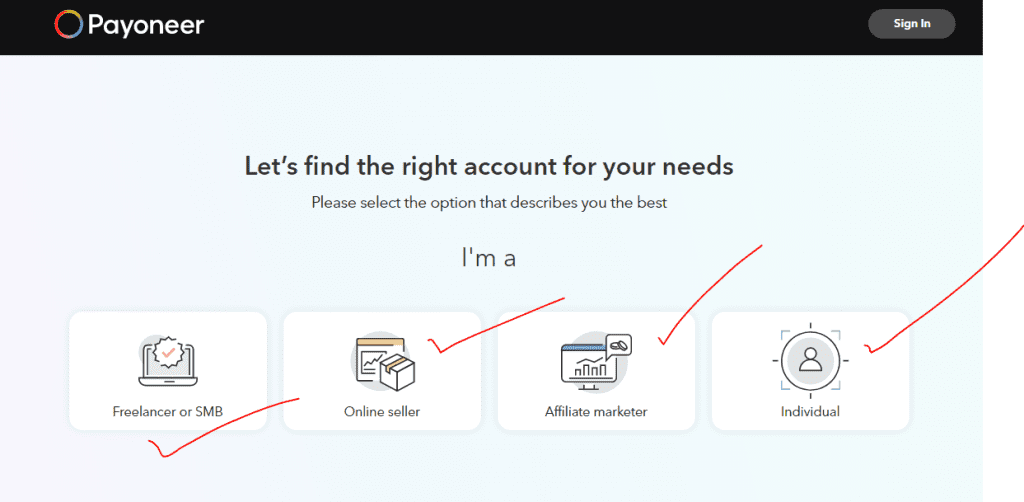
The first thing you do is to head over to Payoneer. Click on sign up and the following page will show up:
Step 2
The first thing you do is to head over to Payoneer. Click on sign up and the following page will show up:

Step 3
Click Register.

This will take you to the Payoneer Sign Up Page:
Step 4
Fill in the necessary details and click next at the bottom, making sure to select ‘Individual’ rather than ‘Company’.
Points to keep in mind:
- The first name must be the same as the one used in your government issued id card and must be written in English
- The last name must also be the same as what is on your id card
- The email address used must be active as it will be used to access your account and through it, you will receive relevant communication.
- Also matching what is on your id card is the date of birth
- If you get all of these correct, you will have a greater chance of your account being approved.

Step 5
Verify your email address:

Step 6
The next step is to fill in your contact details as shown in the image below:

Make sure you input active phone numbers as you will be using them for verification purposes and withdrawals. Click next when done.
Step 7
Fulfill the security requirements by entering your desired password, answering the security questions, and uploading the necessary id.
When done click next and if everything is as should be, you will be one step away from creating your account.

Step 8
Fill in your bank details and submit. Refer to the image below

Once that is submitted, you will see a screen telling you ‘congratulations’ that your account has been created and is awaiting review.
You are done, sit back and wait for the approval to show up on your email.
In my case, here is the email l got from Payoneer upon completion of the application form:

As you can see, it will take somewhere around 3 business days to get a reply. However, I have found that it does not take that long.
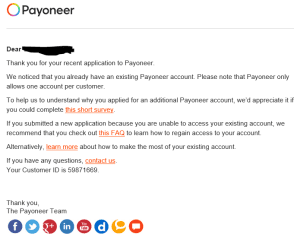
At this stage, everything should work out well, but if there is any issue with your application, the Payoneer will communicate with you in the email as is the case with this tutorial application here:

Now you can see that it did not go through because l already have an existing Active Payoneer account. So that is it for your Payoneer account.
What you have to do now, once your account is approved and created, log into your account and you will see that Payoneer has provided you with at least 2 account numbers. (I cannot show the image here for reasons you already know).
With these account numbers, you can receive payments from around the world.
You did not create a Payoneer account just for the fun of it, you created it to use it to either pay or collect payment.
Let me show you how to add your Payoneer account to your Fiverr account so that once, you fulfill your order on fiver, you can see your payment in your Payoneer account. Let us dig in.
Step 3
How to add Payoneer to your Fiverr account and make a withdrawal from Fiverr
This is done under the assumption that you already have a Fiverr account, (if otherwise, see my detailed tutorial on how to create your Fiverr account here).
This is done under the assumption that you already have a Fiverr account, (if otherwise, see my detailed tutorial on how to create your Fiverr account here).
Step 1
- Log into your Fiverr Account or create one if you have not done so already.
- Go to the selling menu and click on Earnings
- Look at your right-hand side of the marked ‘Available to Withdraw and be sure you have withdrawable fund
- If there are funds, you will see buttons giving you withdrawal options.
You have several options to choose from:
- Fiverr revenue card
- Bank transfer
- PayPal
- Or direct Deposit
- Choose the Fiverr Revenue card
- You are done once you see the onscreen notification confirming your connection
You may be wondering what the Fiverr Payoneer card is.
What is a Fiverr Payoneer card?
Also called the Fiverr revenue card. This is simply like your ordinary card, it is provided by Payoneer and powered by MasterCard.
Once you have money on your Fiverr account and make a withdrawal into your Fiverr Payoneer account, you can use it to shop online and pay bills. (This service as at the time of writing is not supported in India)
How to get your Fiverr Revenue card
- As shown before, log on to your Fiverr account
- Go to the settings menu
- Click on Earnings
- In the withdrawal window, locate the option for the Fiverr revenue card
- At this stage, you will get a notification directing you to your email
- Follow the link on your email, which leads you back to Fiverr with a button to get started.
- This again will redirect you to the Payoneer website.
How to add Payoneer to your Upwork Account
Steps to connect Payoneer to Upwork:
- Head over to Upwork
- Go to settings
- Go to get paid
- Click the setup method (Payoneer) if you already have a Payoneer account, you will have to click that: Already Have A Payoneer Account?
- Enter your Payoneer username and password
- Complete the Payoneer setup process
- Upon completion of the registration, you will be returned to Upwork
- Choose a payment schedule and click next.
It is important to be sure that your name on the Payoneer account matches your verified name on Upwork.
How to add Payoneer to Your Amazon Kindle account
Steps to add Payoneer to your Amazon kindle account
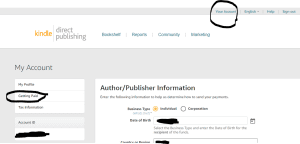
- Go to your Kindle account page

- Click on Getting Paid

- Fill in the details of your bank account previously provided by Payoneer.
This includes the following:
- o Account holders name (must be the same on your Payoneer account)
- o All other details needed can be found in your Payoneer account
- o When done click on ‘Add’ and you are done
And you are done, it is that simple.
However;
If you are new to Amazon, you will still have to attend your tax interview as it is called on Amazon Kindle Page. If you need help with that,
This book on How To Start Making Money With Amazon Kindle Publishing be of great help
How to set up an active Payoneer account without a bank account
To be sure, it is possible to get an active Payoneer account without a local account number but you will not be receiving the bonus given by Payoneer.
But if you want to go ahead and get one without a physical account, the easiest way to do it is through a marketplace like Fiverr.
Head over to Fiverr and
Click on Earnings
Click on the bank transfer
verify your request either by phone or SMS
once done Fiverr will redirect you via an email link that will take you to the Payoneer registration page.
Complete the registration processes, in this, you will not need a bank account.
How to avoid your Payoneer account from being banned
- Do not have a dual account as Payoneer does not support that, if there is any reason why they would want you to explain it to them first.

Do not attempt to have the Dual Payoneer application
- If your account security is breached, Payoneer will lock it up to protect you.
- When you do not comply with Payoneer Terms And Privacy Policy
How to contact Payoneer support if you encounter problems
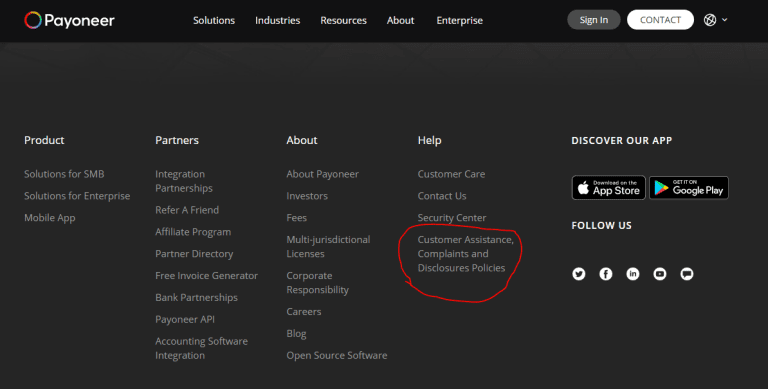
Of course, Payoneer always want you to reach out so that they can help, the easiest way to do that is to visit the Payoneer home page, at the bottom, you will see the link for Customer Assistance
How to transfer your money from Payoneer to your local account
Steps for Payoneer withdrawal:
- sign in to your account
- go to withdrawal and transfer
- chose withdrawal and a new dialog box opens giving you the option to either add your bank or choose from the ones you have previously added
- Select the source of your fund, either EUR, USD, or GBD balance.
Summary
Go ahead and create your Payoneer account as it is your gateway to greater online business.
Here you have it, please feel free to follow us on Facebook,
Let us know what more you would like to know about, and what challenges do you face as you follow the above tutorial in creating your Payoneer account.
What do you think could be made better?
We would like to see your comment in the comment section

